Earlier this year I took a course at Marc Adams School of Woodworking taught by John Ressler. The course was a weekend course focused on making a dulcimer. Many of the time consuming steps were already completed for the students as the normal course runs a week. The sides were already bent and the grooves were cut in the fret board. The nearly complete dulcimer was strung and played in class, well picked a bit. I have since watched a few videos online to learn how to play it. This revealed some issues that need to be fixed.
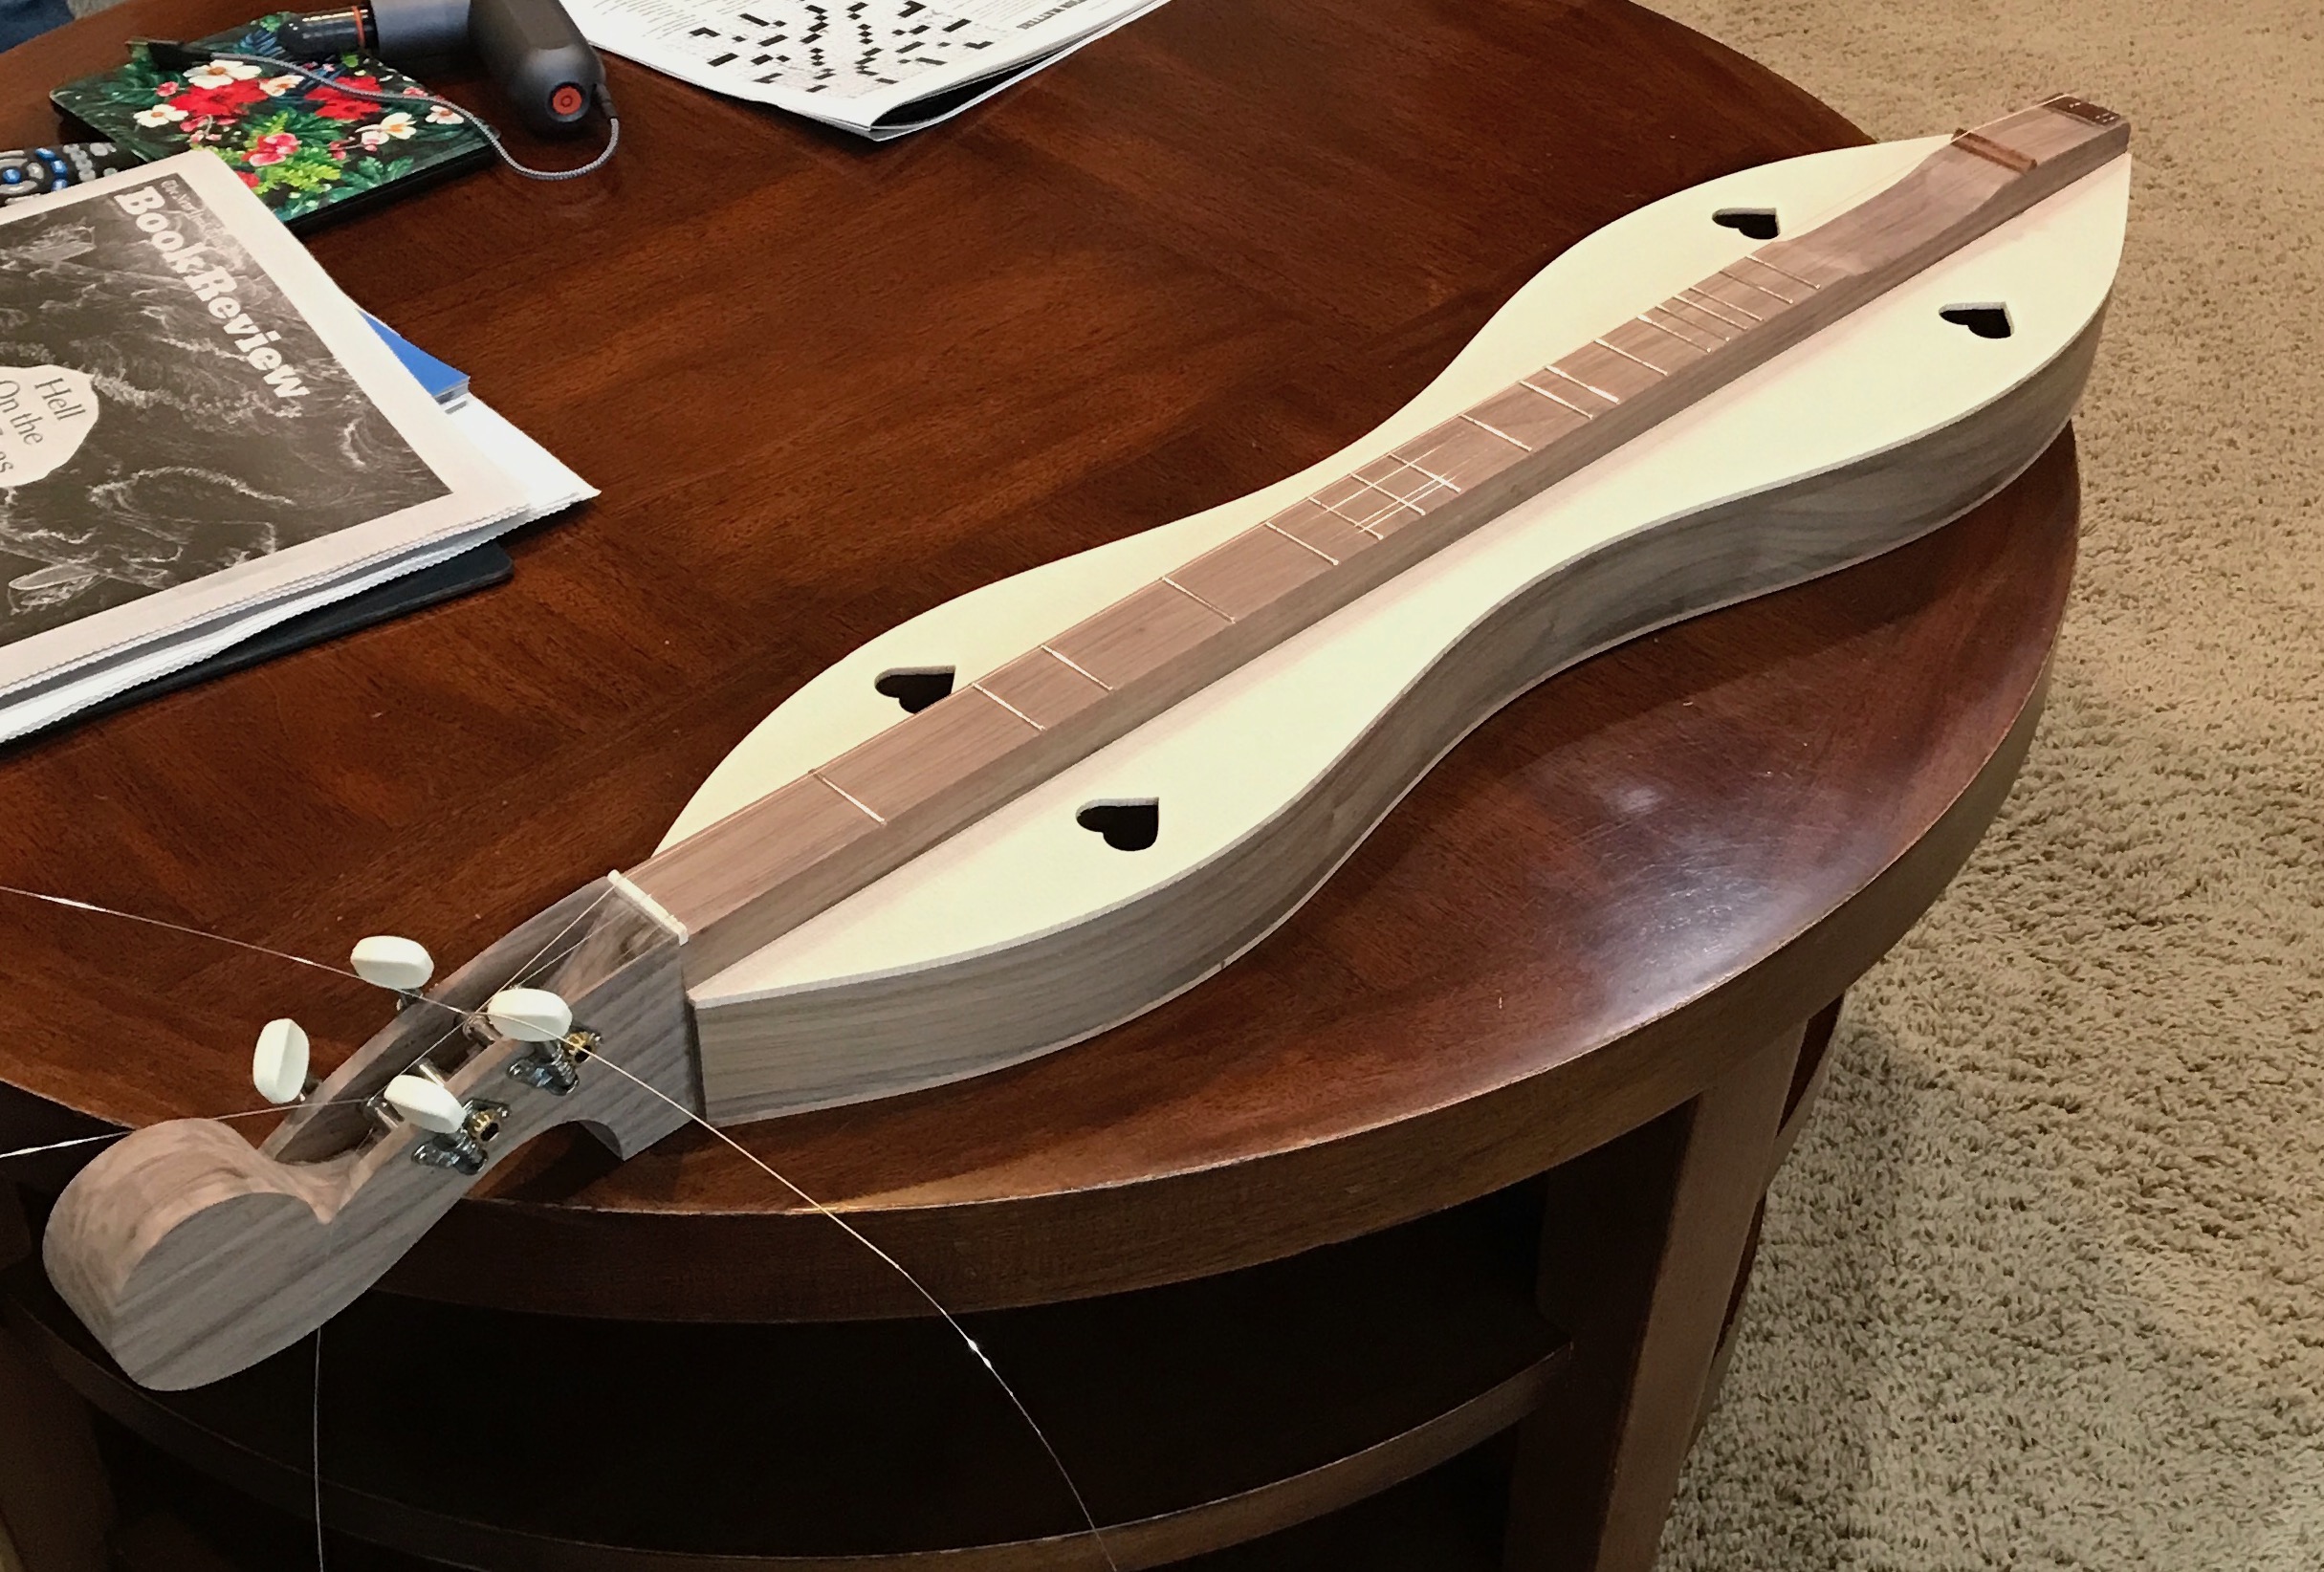
The strings are too high above the frets. This makes it difficult to play as a lot more force is required to push the strings down to the frets, when fingering a chord. The strings are held up near the tuners by the "nut". This is a piece of bone with grooves filed in it. This nut is glued in place. The nut now holds the strings about 1/16" above the first fret. This should be 0.010" above the fret, so the grooves in the nut need to made deeper. Similarly, the strings are held above the frets at the opposite end by the bridge. The string at the twelfth fret should be 1/8" above the top of the fret. It is currently about 1/64" higher. The bridge is not glued and can be sanded to fit.
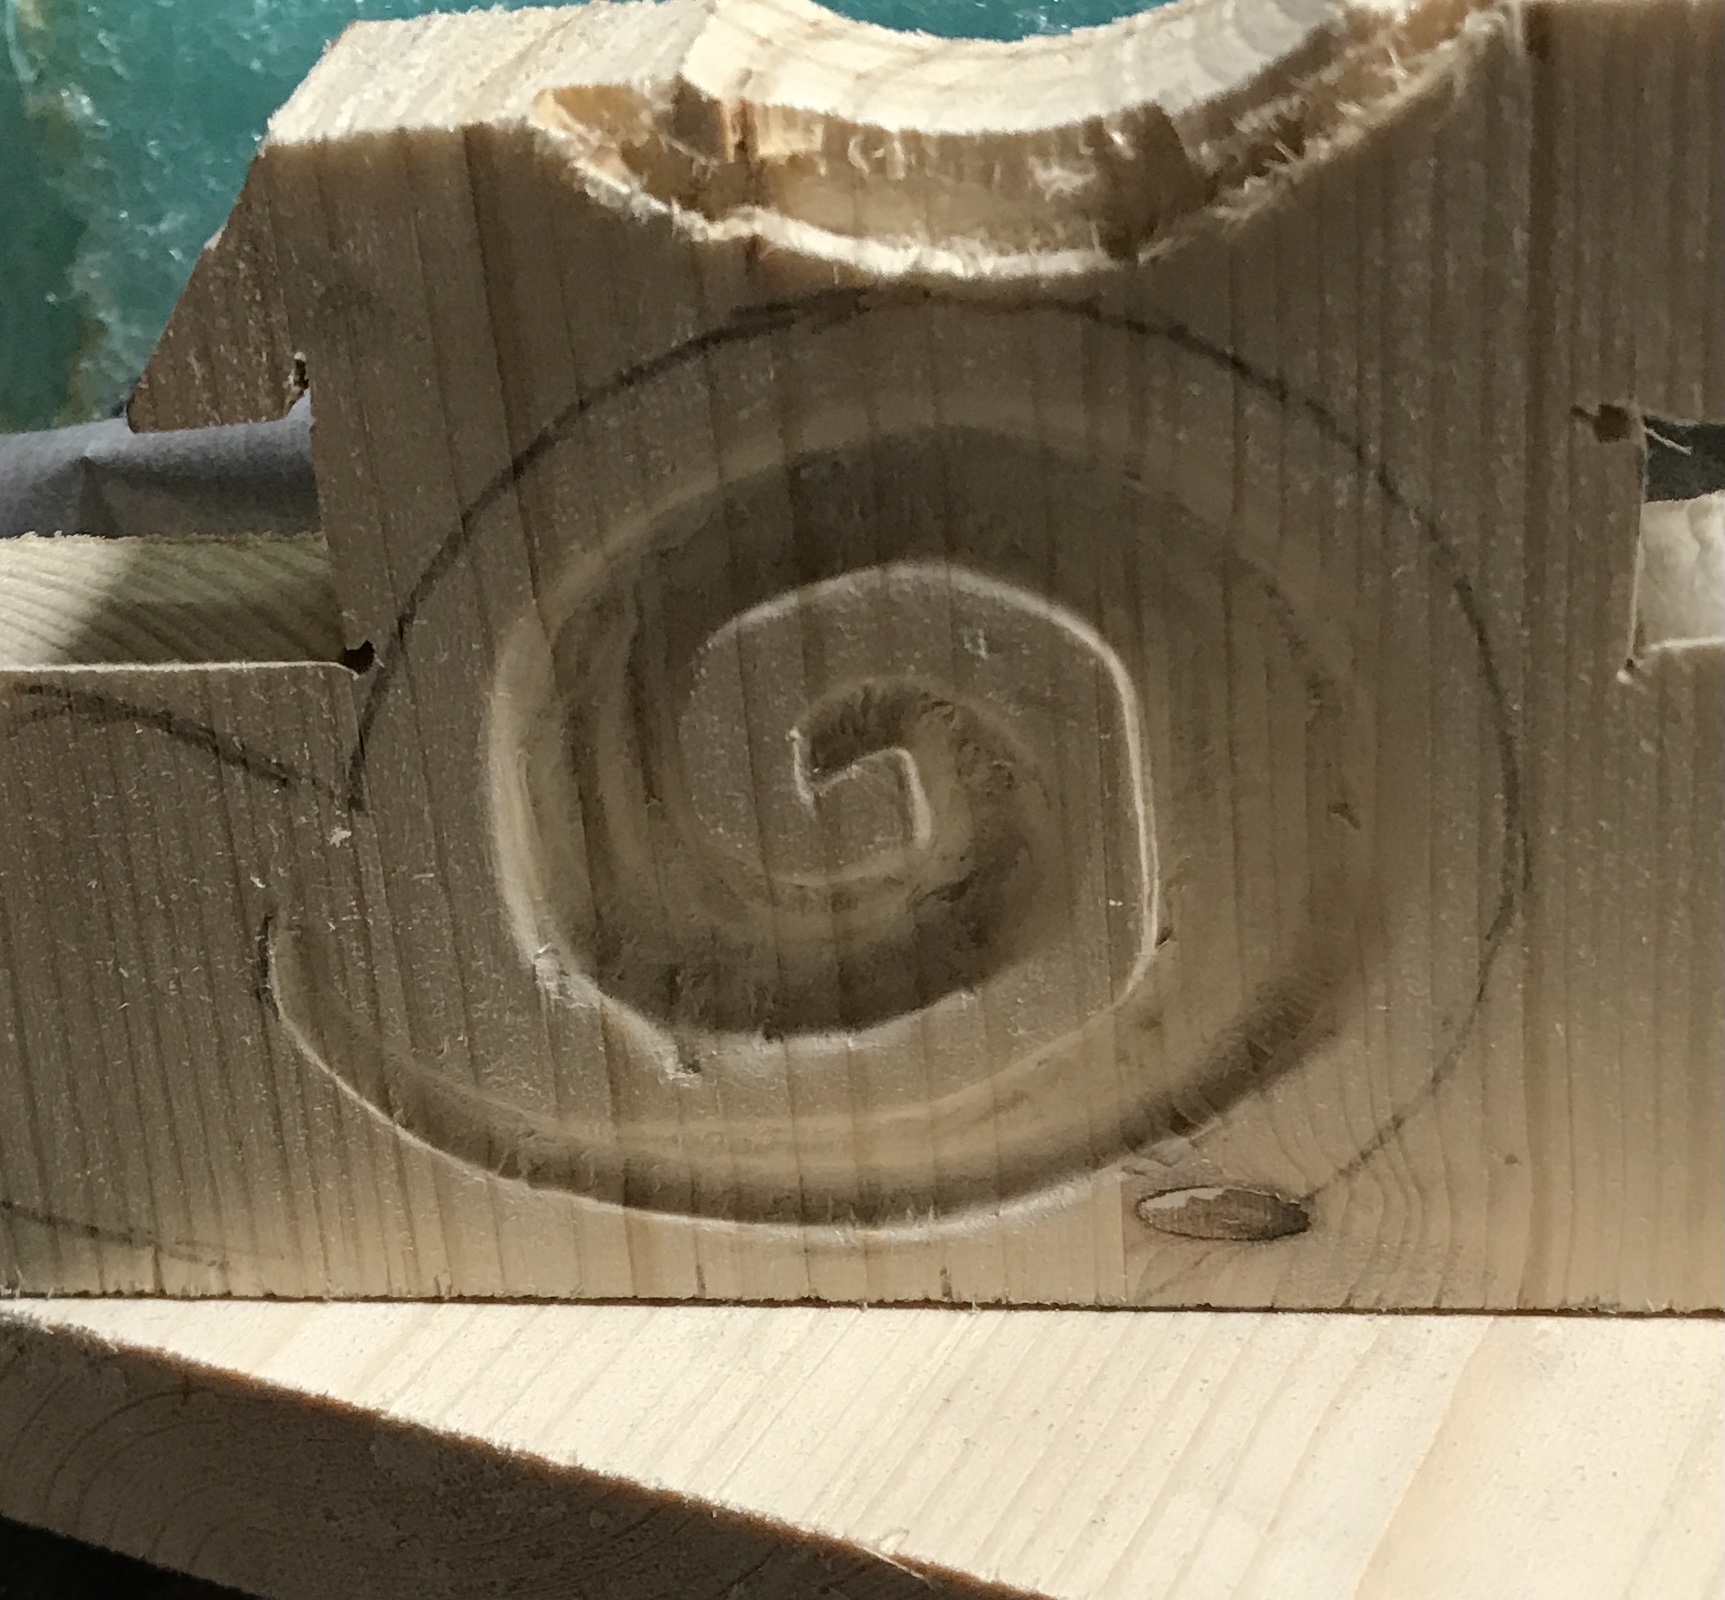
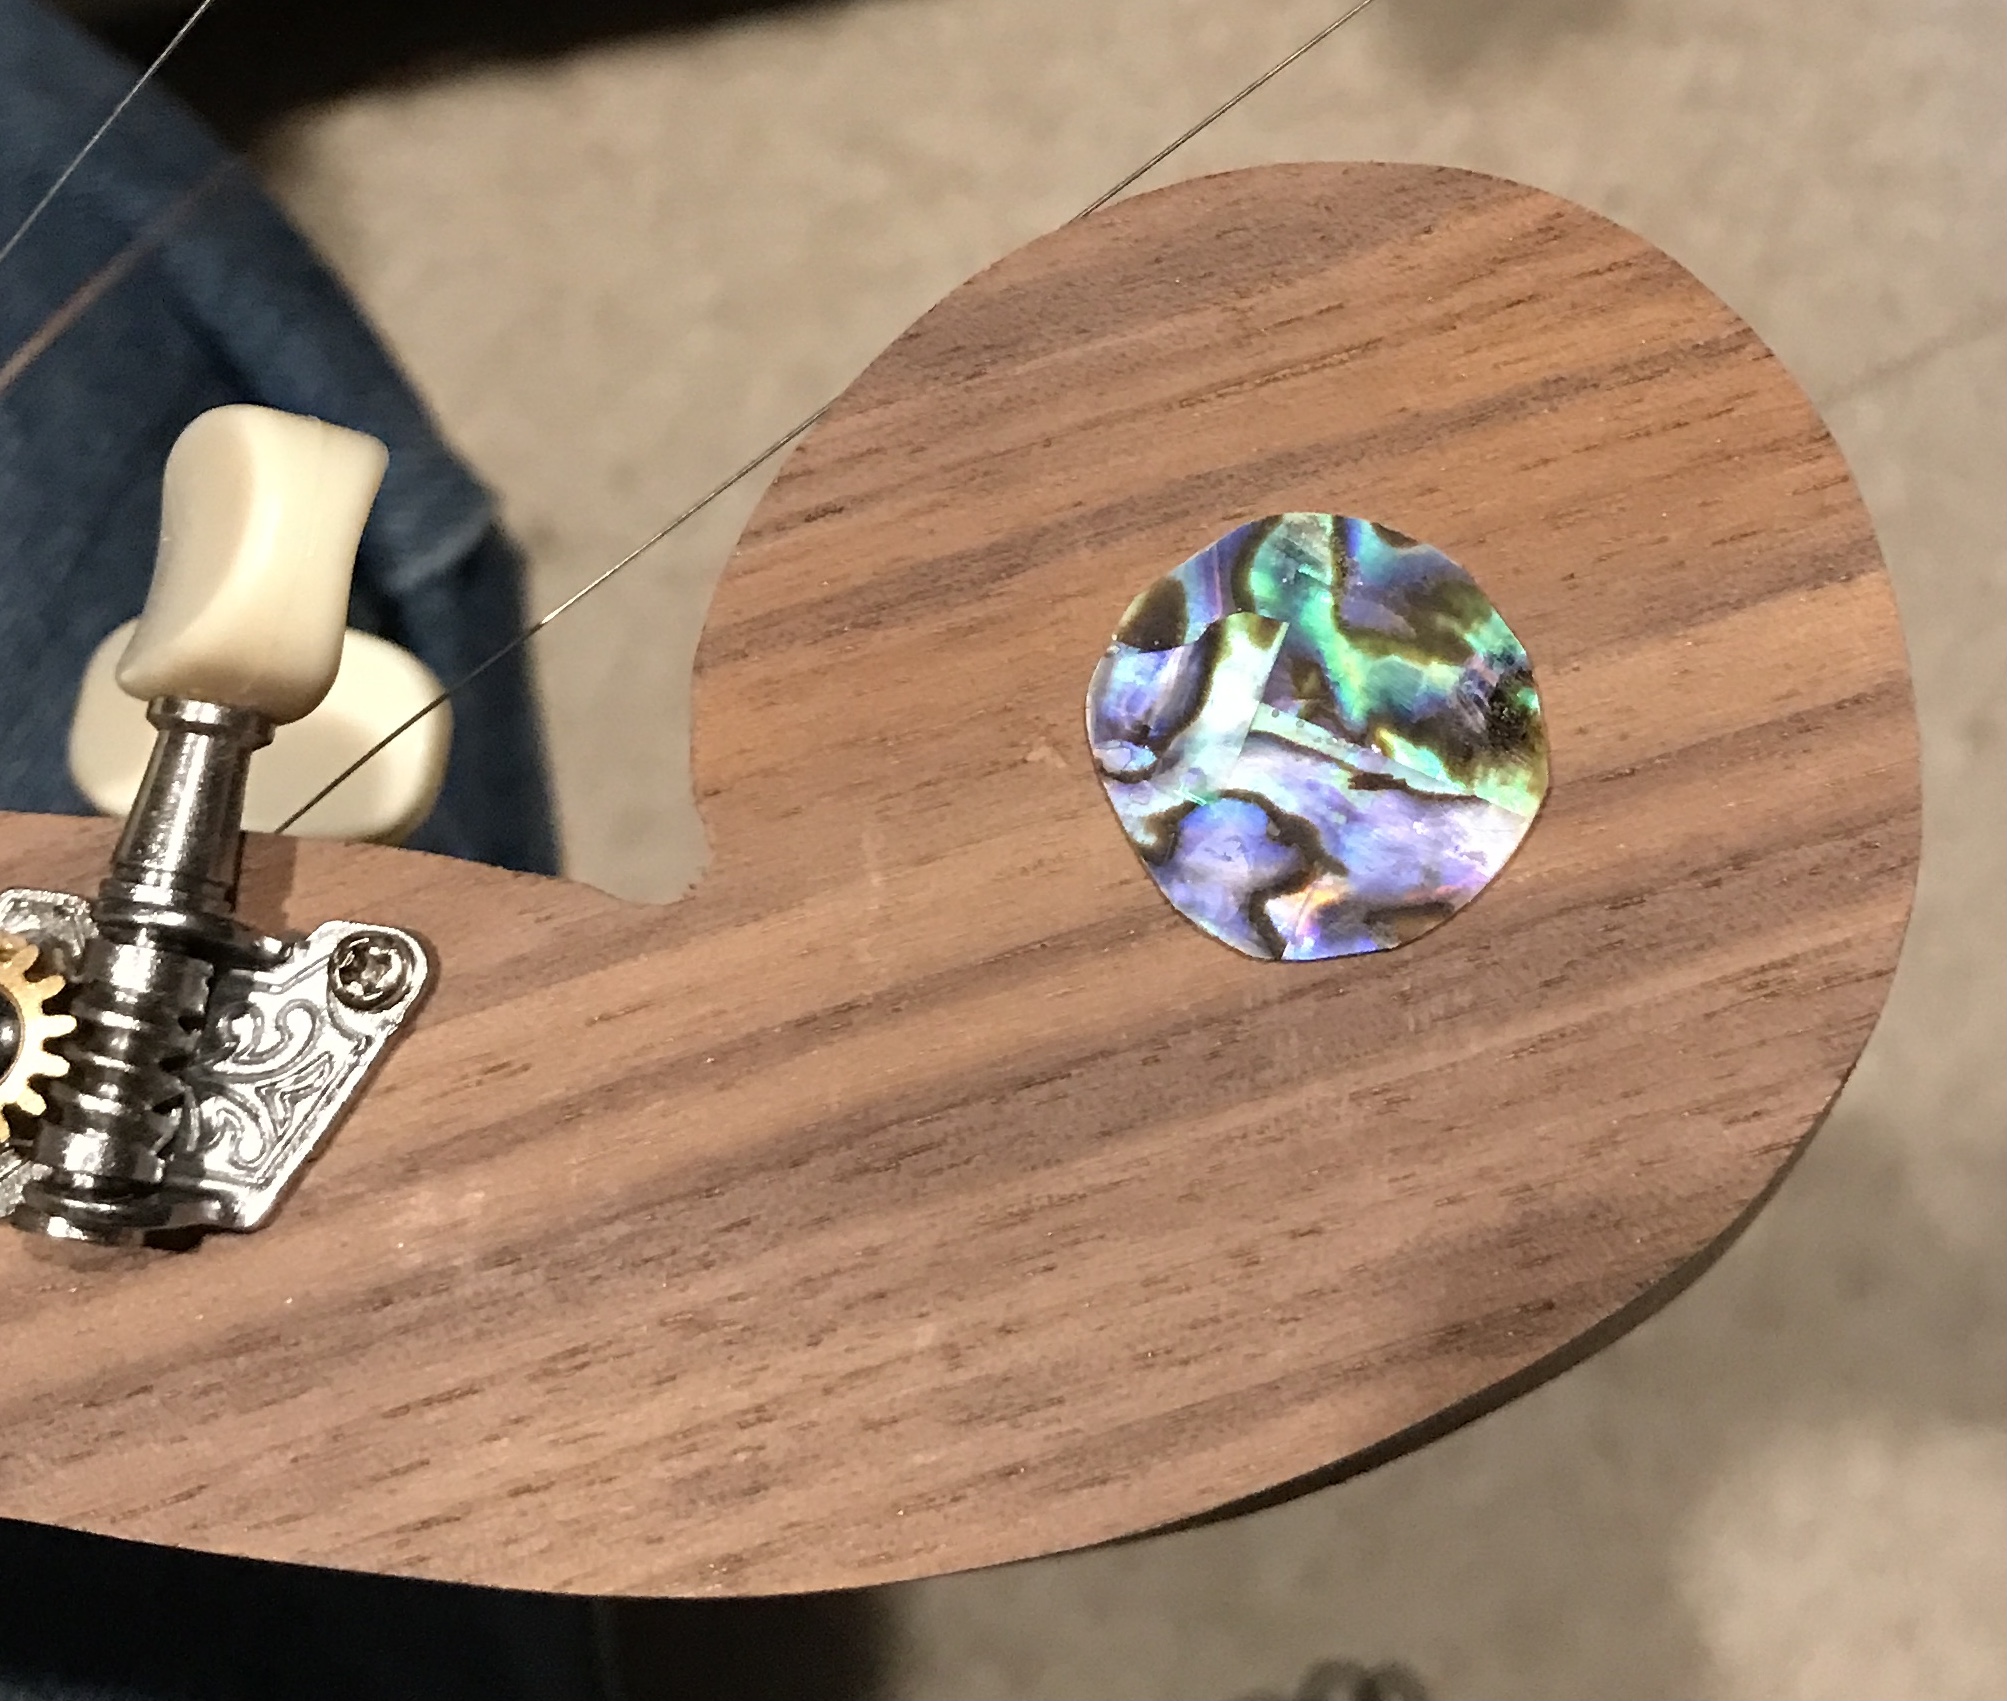
In order to fix these two discrepancies the strings need to be removed. I am not sure how best to file the grooves in the nut. Special very thin files were used in class. Another opportunity for improvement is the headstock, which is quite plain, but I am uncertain how to decorate it. I first considered carving it to look more like the headstock of a cello or violin. A test run was tried on a scrap of wood. My carving abilities are not sufficient to produce the quality desired. A second possibility is inlay.
The body, fretboard and headstock all need to be thoroughly sanded. Then the entire dulcimer needs to be finished. A course taken in October taught French polishing with shellac. That is the desired finish I plan to use. The dulcimer is made of cherry (the back), walnut (fretboard, headstock, and sides), and aspen (the face). The cherry and the walnut are closed grain woods and should not need pore filling with pumice. I do not know about the aspen top, though I can see no pores upon inspection.
A final touch to complete the dulcimer is signing it. This is usually done on the inside prior to assembly. Since I did not sign it at that time I will need to sign it via one of the heart-shaped cutouts in the face. The year 2023 will also be added.
Over two months later the dulcimer is back in focus. It is now January and I have forgotten what I learned about using welding tip cleaning wires to cut the nut. A luthier instruction site indicates the slot should be the same width as the strings. The strings, measured with a micrometer, are 0.011" (first two strings), 0.013" and 0.024". The smallest tip cleaning wire is 0.016". Two sizes up is 0.024".
The current height of the strings was measured with feeler gauges. Difficult to be exact, but over 0.062", probably closer to 0.075". The first task is removing the strings. The strings were loosened, but not removed from the tuners. A piece of tape secured them out of the way. The narrowest wire was held between two sets of needle nose pliers and shifted back and forth in the slot. It is difficult to keep the wire level enough to cut the nut evenly. Eventually the slot was deep enough to set the string about 0.015" above the first fret. When cutting the second slot the wire broke, another trip to Menards!
In the meantime lowering the bridge height was tackled. A string was put in the slot filed to depth. It was almost 1/32" above the 1/8" target. The bridge was first sanded by hand removing about 0.001" per fifty strokes. The belt sander was tried next. It removed a decent amount of material before shooting the bridge into space. It could not be found, so a note was sent to John Ressler asking for bridge dimensions. Of course, then I found the dimensions in the pdf describing the dulcimer build.
A scrap of hardwood (?) was located and sanded to 0.28" (9/32"). I have a large 45° chamfering router bit that may be used. An alternative is building a 45° jig for the sanding belt. The router table was selected and uncovered, then setup for cutting the two sides of the hardwood as shown in the two photos below. The challenge is ensuring the bit is at a height that cuts only up to 0.14". A few trial cuts will be used to make sure this is the case.


Three trial cuts seemed to have zeroed in on the correct height, but a corner is a difficult thing to measure. The piece of hardwood was cut on both sides. A thin flat ridge was left. Good enough. The first photo below attempts to show this flat. The table saw was set up next. A zero clearance insert was installed. The fence was moved to leave 15/64" of material exposed beyond the blade. The part was cut and it was on target. The part was then cut to fit the fret board with a hand saw. The new bridge is about 1/32" too high just like the old, so it was held with a clamp and sanded with the belt sander. It was quickly reduced, so the installed A string is 1/8" above the last fret. The second photo shows the bridge in place under the single string.


The top of the fret should be set 26 1/16" from the nut. The A string should play "A" unfretted and with the string held at the seventh fret an "A" an octave higher. If the second "A" is sharp move the bridge farther from the nut.
A new set of tip cleaning wires was purchased. Progress was extremely slow, but all of the grooves were cut after about two hours of work. The strings were restrung and it is now substantially easier to play, just a slight pressure is sufficient. All four strings are about 0.010" - 0.020" above the first fret and 1/8" above the last.
Sanding was started this morning as well. The aspen top was sanded with 220 grit paper. The holes were chamfered very lightly on both the inside and outside. The sides were sanded with 220 grit, but in some spots 150 grit sandpaper was used first.
I restrung the dulcimer after cutting the nut. The instructions for tuning the first string state using the seventh fret as a higher A to set the bridge. I was unable to get this to work. After tuning the string to A, the seventh fret would only give me A flat, one octave higher. Even moving the bridge as far forward as possible did not get quite up to A. I was rereading this write-up and noticed the instruction to set the bridge up so the string was 1/8" above the 12th fret. I, in my most imbecilic fashion, assumed the last fret was the 12th fret and not the 18th!!!!! Time to make the third bridge.
The third bridge was made and everything now works well. I tuned the dulcimer to DAD. The middle string was checked for in tune at the seventh fret and the bridge can now be shifted to keep everything in tune. One string broke while tuning as I attempted to tune an octave too high. It broke right near the loop, so was repaired.
After a bit of playing the strings were removed. The tuners were removed: gear is on the nut side. Everything that couldn't be reached before was sanded with 220 grit. The edges were all very slightly rounded. Dust was removed with compressed air. The entire dulcimer was then treated with Wipe-On polyurethane. Three coats were used with 220 grit sanding between coats. The coats were spaced two to three hours apart. The final coat was a bit rough so it was rubbed/sanded out. The photo below shows the dulcimer.

The plan was to put a coat of paste wax on the dulcimer to further protect the finish and provide a bit more shine. Checking on the Min-Wax website indicates that the wipe-on poly fully cures in 3-4 weeks!
It is the beginning of March, so time is up. Johnson paste wax was applied and after thirty minutes buffed with a soft cloth. The tuners were reinstalled and the strings were put on. The first two strings were tuned to D4, the middle to A3, and the last to D3. The bridge was adjusted until the 7th fret on the middle string gave A4. A final adjustment on all strings gave me a well tuned dulcimer. I did not know what to do with the extra strings, so I pulled up a video on stringing a dulcimer, and had to redo the entire process. The strings are cut 3" beyond the tuners and then wound multiple times around the tuner. Start with the outside strings on the first and second tuners and follow with the A string on the farthest tuner, and finally the second D string on the third tuner. Now the dulcimer is strung correctly and tuned to D4-A3-D3. A recording of the dulcimer attempts to portray the correct tuning. The completed dulcimer is shown below.
